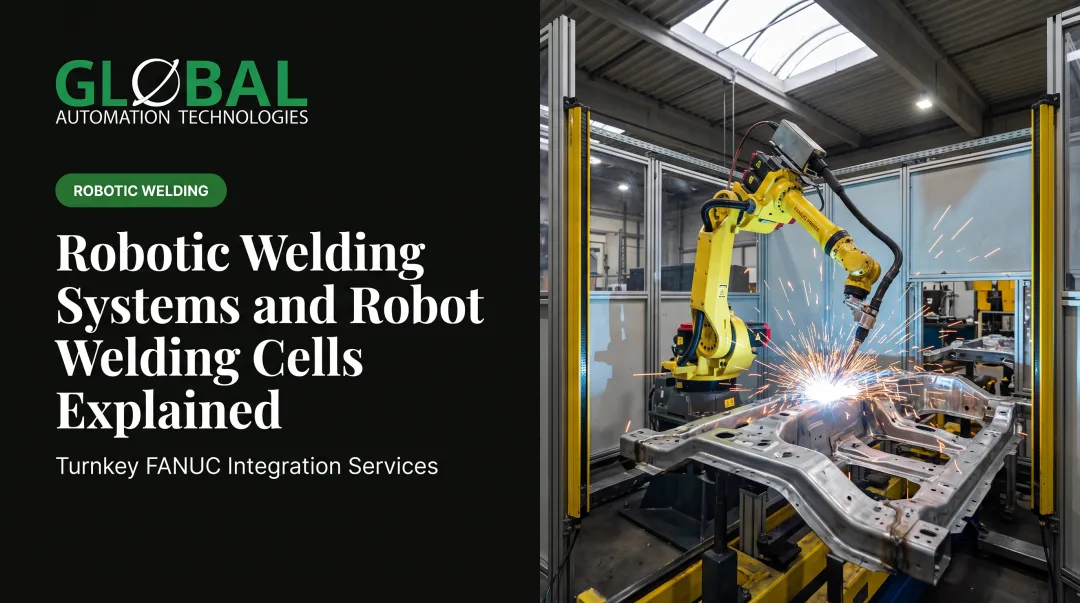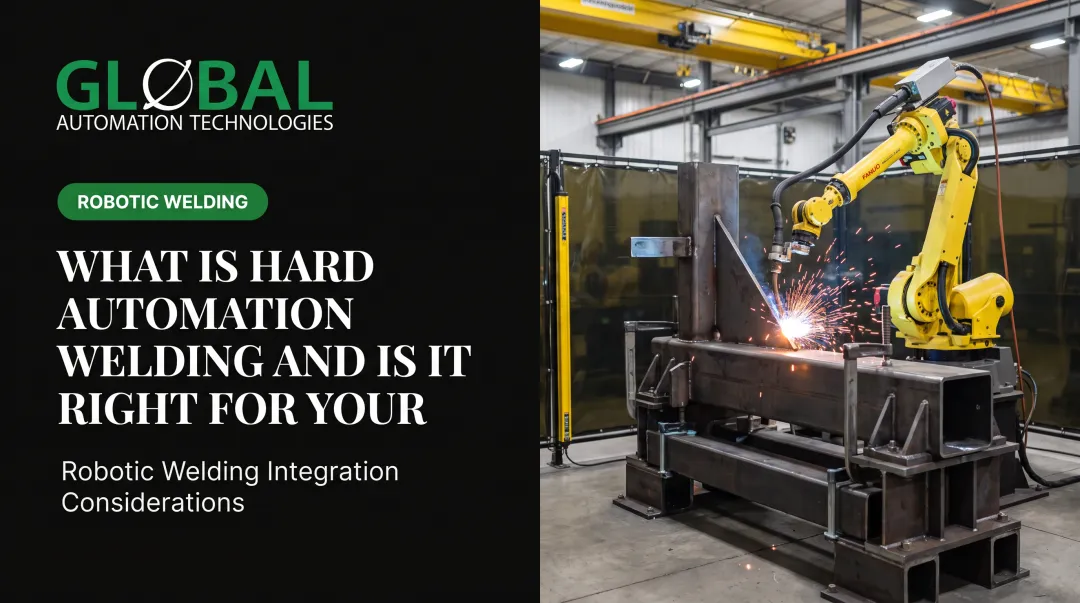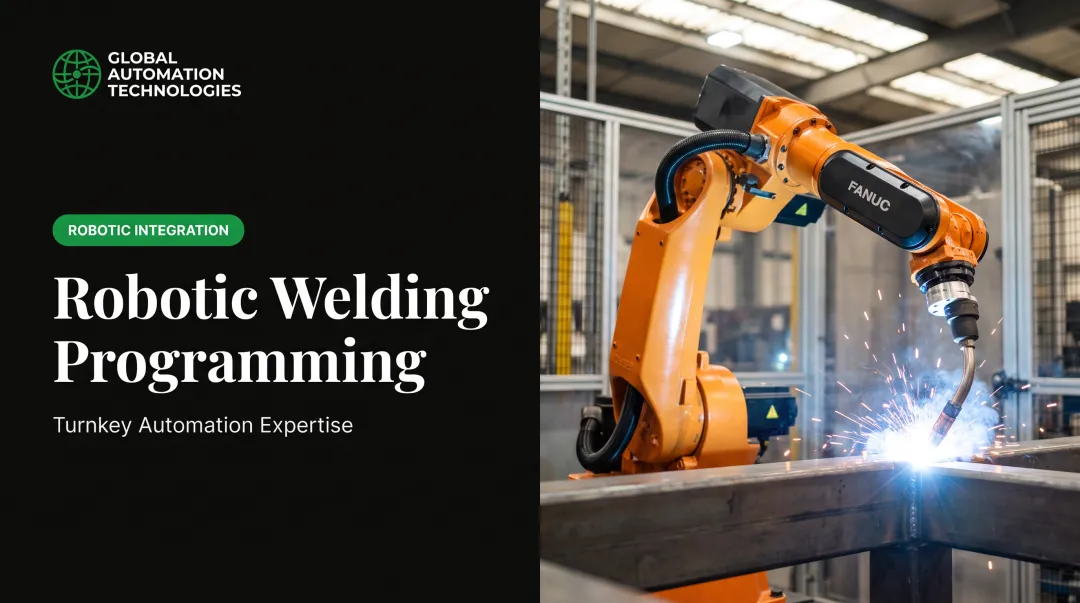

Here's the catch: aluminum doesn't forgive mistakes the way steel does. A parameter that's slightly off shows up immediately as a burn-through, a warped panel, or a cosmetic defect nobody wants on a finished part.
This guide breaks down the material differences, process settings, wire feed equipment, and integration considerations you need to get consistent, production-ready aluminum welds.
Key Takeaways
- Aluminum's thermal conductivity and fast solidification rate demand different robot programming than steel
- Arc starting, dual pulse settings, and crater fill technique are the three biggest levers for weld quality
- Wire feed system choice directly impacts birdnesting risk and long-term line reliability
- An experienced integrator cuts trial-and-error time and speeds up production ramp-up
Understanding Why Aluminum Welds Differently Than Steel
Before programming a single weld path, it helps to understand what makes aluminum behave so differently under an arc. Robotic aluminum welding succeeds when programs are built around the material's behavior from the start.
Thermal Conductivity and Heat Management
Aluminum conducts heat roughly 5 times faster than steel, according to Lincoln Electric. That creates a strange contradiction for programmers: the material is hard to heat up at the start of a weld, then melts almost instantly once it reaches temperature.
This matters most on thick-to-thin transitions. A bracket welded to a thin panel can burn through in a fraction of a second if the robot doesn't compensate for the heat sink effect on the thicker piece.
Material Softness and Wire Feed Challenges
Aluminum wire is soft and has low column strength compared to steel wire. Push it through a long, curved conduit and common failures show up fast:
- Buckling inside the liner
- Kinks along curved sections
- Birdnesting at the drive rolls
Through-arm robot designs route cable and conduit inside the arm instead of looping it externally. That shortens feed paths and cuts tangling on modern platforms. Shorter, straighter paths simply give soft wire less opportunity to fail.
Color, Fluidity, and Solidification Rate
Steel glows red-to-orange as it approaches melting temperature, giving welders a visual cue. Aluminum doesn't. It looks the same at room temperature as it does seconds before it turns liquid. That makes visual progress tracking nearly impossible for programmers using camera feedback or manual observation.
Aluminum also solidifies fast. That's good news for travel speed, since you can move quicker without lack of fusion, but it creates a rapidly freezing crater at the end of every weld that needs deliberate handling.
GMAW vs. GTAW: Choosing Your Cosmetic Outcome
GTAW produces the classic hand-welded "stacked dime" look, but it is slow and operator-dependent. GMAW fits robotic production better:
- Faster cycle times
- Higher repeatability cell to cell
- Easier to hold consistent parameters at volume
Most robotic aluminum programs use pulsed GMAW to approximate the GTAW aesthetic without giving up production speed. Pulsed spray transfer widens the usable amperage range and lowers average heat input. That reduces distortion and burn-through risk on thin-gauge aluminum panels.

Essential Process Tips for Successful Robotic Aluminum GMAW
Standard steel GMAW programming won't get you clean aluminum welds. Avoiding burn-through, warping, and lack of fusion takes specific adjustments at each stage of the weld.
Tip 1: Master the Arc Start (Hot Start)
Aluminum's heat sink effect means the beginning of a weld is often under-heated compared to the rest of the joint. A "hot start" solves this by boosting current at arc initiation, then stepping it down once the arc travels 10-15mm.
- Prevents cold lap at the weld's leading edge
- Establishes full penetration before the robot reaches travel speed
- Requires power source software capable of programmed current ramping
Tip 2: Use Dual Pulse for Cosmetic Control
Dual pulse alternates between high and low current at a set frequency, creating visible ripples that mimic hand-laid GTAW beads. Many modern power sources support adjustable pulse frequency across roughly a 0.5 to 10.0 Hz range. Lower frequencies produce wider, more textured ripples; higher frequencies produce tighter, smoother spacing.
Dial in the frequency based on the cosmetic finish your customer expects, then lock it into your weld schedule for repeatability.
Tip 3: Plan for Crater Fill at Arc Ending
Because aluminum freezes fast, ending a weld abruptly leaves a shrinkage crater that becomes a stress riser where fatigue cracks start. Three approaches address this:
- Single-step arc-off — current drops instantly; fastest but leaves the deepest crater
- Two-step arc-off — current tapers before extinguishing, softening the crater
- Back-stepping — the robot reverses travel briefly at the end, filling the crater with additional weld metal
Back-stepping generally produces the strongest result on fatigue-loaded parts, since it eliminates the sharp geometric transition that cracks tend to originate from.
Tip 4: Use a Water-Cooled Torch and Recessed Contact Tip
Pulsed aluminum welding generates enough heat at the contact tip to swell and stick the wire, which stalls feed and stops production. Water-cooled torches manage that heat far better than air-cooled setups, particularly at higher duty cycles.
Contact tip position matters too. Where steel welding often uses an extended tip, aluminum benefits from a recessed tip, roughly 1/8 inch inside the nozzle. That position improves shielding gas coverage over the molten puddle and reduces porosity.

Choosing the Right Wire Feed System
Wire feed configuration is often the most consequential equipment decision in a robotic aluminum welding cell. Get it wrong, and birdnesting becomes a daily headache instead of an occasional nuisance.
Aluminum wire's softness and lower column strength make it prone to tangling at the drive roll, a challenge Miller Electric flags as one of the material's core feeding risks.
| System | How It Works | Best For | Birdnesting Risk |
|---|---|---|---|
| Push-Only | Feeder motor pushes wire through the liner | Low-volume or mixed-material shops with short torch cables | Highest: needs aluminum-specific liners and stiffer wire |
| Pull Torch | Motorized torch pulls wire directly from a nearby drum | Cells needing longer reach without a separate feeder | Moderate: much lower than push-only |
| Push/Pull | Servo pull motor in torch, push feeder near robot, optional assist feeder | Dedicated aluminum production lines | Lowest: full control over start/end quality |
Push-Only Feeder
This is the least expensive option, but it comes with strings attached. To keep the wire from buckling on its way to the arc, you'll need:
- Short torch cables
- Aluminum-specific drive rolls and liners
- Stiffer wire diameters
Pull Torch Feeder
A motorized-pull torch pulls wire straight from a drum positioned close to the robot, cutting the distance the wire has to travel unsupported. This cuts tangling risk compared to push-only setups, especially on longer reach applications.
Push/Pull Feeder
For dedicated aluminum production, this is the setup most integrators recommend. A servo pull feeder built into the torch works with a push feeder near the robot base, sometimes with an assist feeder in between, giving full control over feed speed at both the start and end of the weld.
Material Prep and Consumable Selection
Aluminum forms an oxide layer almost immediately after exposure to air, and that oxide melts at roughly 3,700°F, compared to about 1,200°F for the base metal underneath. Weld over unremoved oxide and you'll get porosity and lack of fusion, full stop.
Treat these prep and consumable rules as non-negotiable on a robotic aluminum cell:
- Clean lubricants first, then remove oxide with a dedicated stainless-steel brush reserved only for aluminum
- Match filler wire to base material composition, joint design, and hot-cracking sensitivity. Some alloys crack more readily than others
- Select shielding gas by thickness: pure argon for thinner sections; argon/helium blends for deeper penetration and better puddle fluidity on thick stock
- Never mix consumables between steel and aluminum stations; cross-contamination introduces porosity fast
Skip any of these and the cell pays for it in porosity, lack of fusion, and rework queues that erase the throughput gains you automated for.
Why Partner with an Automation Integrator for Robotic Aluminum Welding
Aluminum's process parameters are sensitive enough that guesswork gets expensive fast. Every hour spent tuning pulse frequency or crater fill settings on the shop floor is an hour of scrap and downtime.
Working with an integrator that understands both the robot platform and aluminum-specific tooling shortens that learning curve. GLOBAL Automation Technologies, a top-tier Level 5 FANUC Authorized System Integrator, for instance, delivers the robotic welding system and the engineers to program and run it, primarily on FANUC robot platforms built for precision manufacturing environments.
That combination matters because aluminum welding cells need more than a robot arm:
- AI-assisted simulation that validates aluminum weld paths and parameters before a single weld hits the floor
- Full turnkey delivery covering layout, design, build, programming, validation, installation, commissioning, and training
- Single-source accountability from concept through production-ready operation
For manufacturers moving from steel to aluminum, that end-to-end structure means fewer handoffs, fewer surprises, and a faster path to full production output.
Frequently Asked Questions
How much do robotic welders cost?
A turnkey robotic welding cell typically costs $50,000 to $250,000+, depending on robot payload, welding process, tooling complexity, and integration scope. Aluminum-specific tooling and programming can add cost compared to a standard steel cell.
What is the biggest challenge in robotic aluminum welding?
Wire feedability and birdnesting are the most common headaches, closely followed by aluminum's sensitivity to heat input. Both trace back to the same root cause—aluminum's softness and thermal behavior need tighter process control than steel.
Can robots weld aluminum as well as a skilled human welder?
Properly programmed robots can match or exceed manual consistency and cosmetic quality, particularly when dual pulse and crater-fill programming are dialed in correctly. Robots pull ahead on weld-to-weld consistency more than on raw craft skill.
Do I need a different robot for aluminum welding versus steel?
Usually not. The same robot platform often works for both materials, but the torch, feeder, liners, and programming parameters need to change to suit aluminum's specific behavior.
How long does it take to program a robot for aluminum welding?
Timelines depend on part complexity and whether prior weld data exists for similar joints. AI-assisted offline simulation can shorten programming from weeks down to days by validating paths and parameters before floor deployment.
What wire feed system is best for aluminum welding?
Push/pull feeders are the standard for dedicated aluminum production, offering the most control over start and end quality. Push-only systems can still work for lower-volume shops or facilities welding both aluminum and steel.